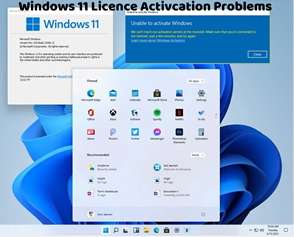
After making significant hardware changes to your computer, such as replacing the motherboard or CPU, you may encounter activation issues with Windows 11. This is because hardware changes can trigger a reactivation requirement from Microsoft’s servers. Here’s how to activate Windows 11 after hardware changes:
Sign in to Your Microsoft Account:
Ensure that you’re signed in to your Microsoft account on your computer. Signing in with the same Microsoft account that was previously used for activation can facilitate the reactivation process.
Open Settings:
Click on the Start menu and select the gear icon to open Settings.
Navigate to Activation:
In the Settings window, go to Update & Security > Activation.
Troubleshoot Activation:
Click on the “Troubleshoot” option under Activation. Windows will attempt to diagnose and fix any activation issues automatically.
Follow On-Screen Prompts:
Follow the on-screen prompts provided by the Activation Troubleshooter. Windows may ask you to confirm your identity by signing in to your Microsoft account again.
Complete Reactivation:
Once the troubleshooting process is complete, Windows should reactivate automatically if your hardware changes are within acceptable limits.
Contact Microsoft Support:
If you encounter any issues during the reactivation process, or if Windows doesn’t reactivate automatically, consider contacting Microsoft Support for further assistance. They can provide personalized support to help you reactivate Windows 11 after hardware changes.
By following these steps, you can reactivate Windows 11 after making significant hardware changes to your computer. It’s essential to ensure that you’re signed in to your Microsoft account and that your hardware changes are within acceptable limits to facilitate the reactivation process smoothly. If you continue to experience activation issues or have questions about hardware changes and activation, don’t hesitate to seek assistance from Microsoft Support or consult with a knowledgeable individual for further help.

