
Are you struggling with Windows 11 Ethernet no signal issues? You’re not alone! Many users find themselves facing frustrating connectivity problems after upgrading to Windows 11. In this article, we will explore effective ways to resolve Windows 11 Ethernet no signal issues effortlessly today! Whether it’s a faulty cable, outdated drivers, or simply a misconfiguration, we’ve got you covered with practical solutions that will restore your internet connection and enhance your online experience.
Imagine sitting down to work or play, only to be stopped in your tracks by a loss of Ethernet signal. It’s annoying, isn’t it? The good news is that fixing these issues can be easier than you think. We’ll break down the most common reasons behind the no signal error and provide step-by-step instructions to help you troubleshoot and fix your connection problems. By the end of this post, you’ll have the tools and knowledge to tackle these pesky issues head-on and get back online in no time.
In addition, we’ll discuss how keeping your network drivers updated and optimizing your network settings can significantly improve your connection stability. So, if you’re ready to say goodbye to those frustrating Ethernet connection problems and enjoy seamless browsing, gaming, or streaming on Windows 11, keep reading! You’ll discover solutions that are not only effective but also easy to implement, ensuring you can get back to what you love without the hassle of connectivity interruptions. Are you ready to dive in and solve those pesky Windows 11 Ethernet no signal issues once and for all?
Top 7 Proven Troubleshooting Tips to Fix Windows 11 Ethernet No Signal Errors Instantly!

Windows 11 is a powerful operating system that comes with many features, but sometimes users face issues like the Ethernet no signal errors. These problems can be frustrating, especially when your work or entertainment relies on stable internet connections. If you’re in New York and dealing with this problem, you’re not alone. Many users look for ways to resolve Windows 11 Ethernet no signal issues. Here are the top 7 proven troubleshooting tips that can help you fix these errors instantly!
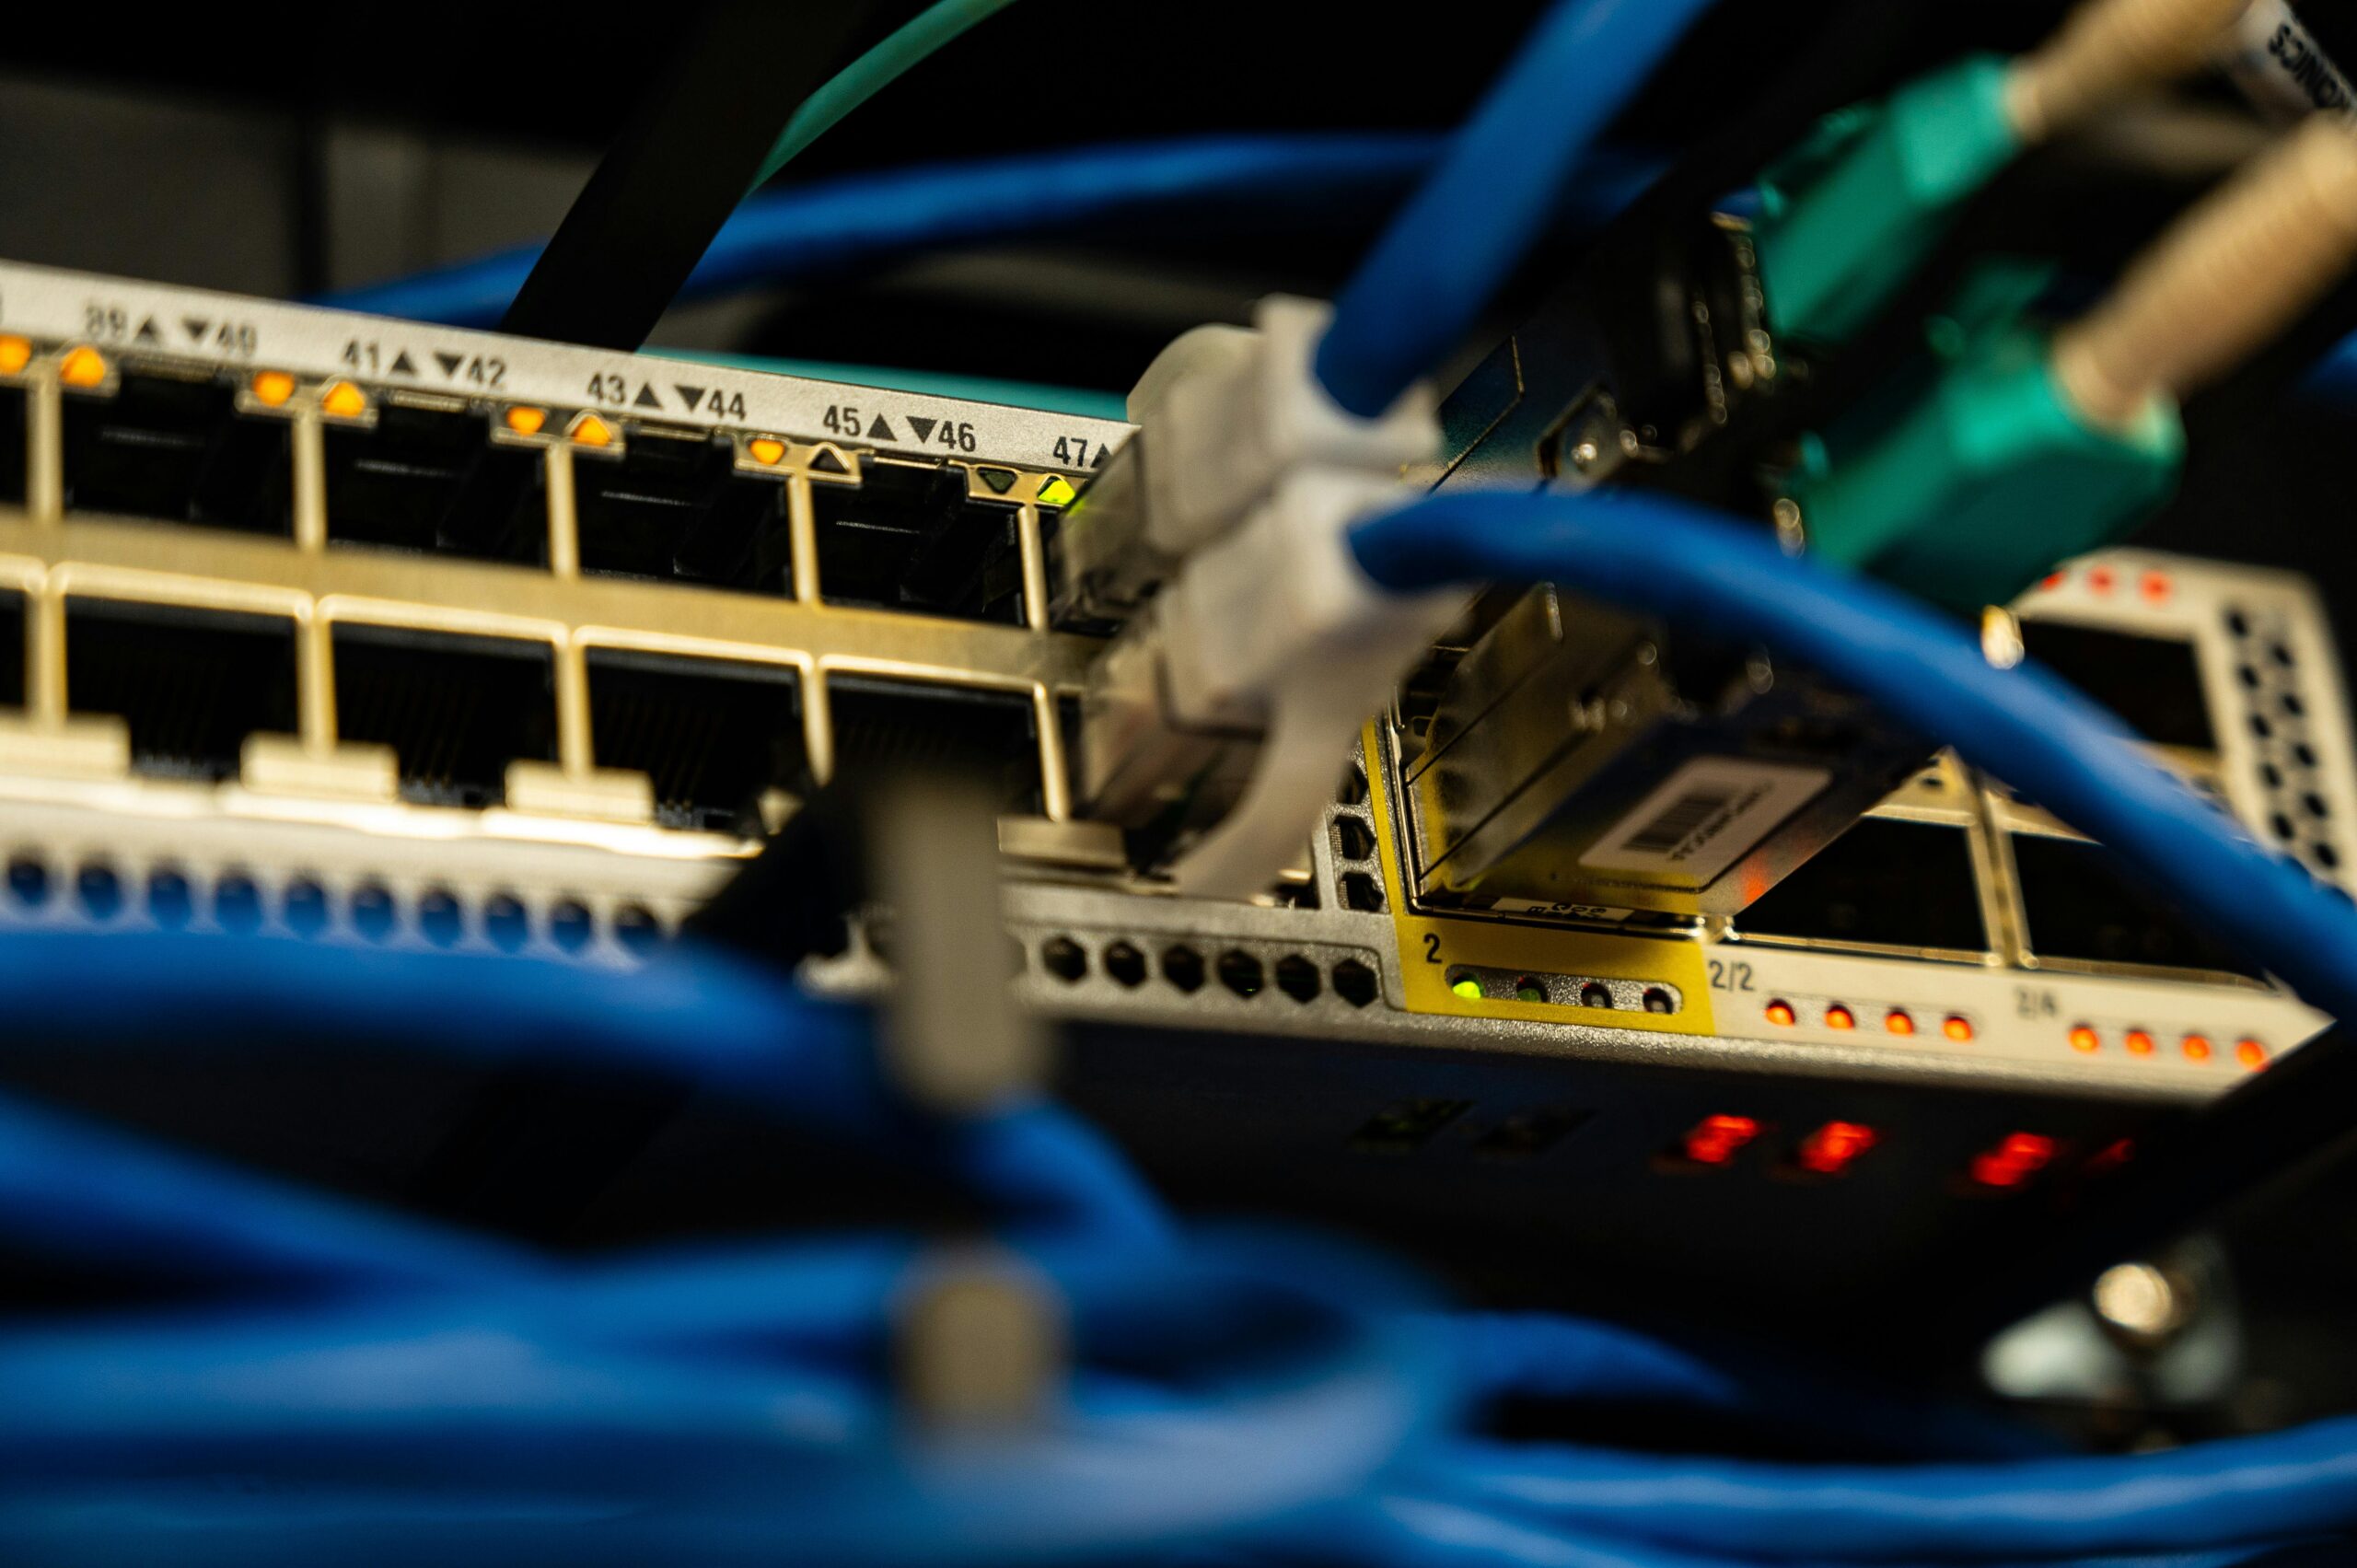
1. Check Physical Connections
First things first, make sure your Ethernet cable is properly plugged in. Sometimes, it may look connected, but it could be loose. Also, check if the cable is damaged. If you have another cable, try swapping it out to see if it fixes the problem.
2. Restart Your Devices
Sometimes, simply restarting your computer and router can solve the issue. Unplug your router, wait for about 30 seconds, and then plug it back in. Once the router is fully booted up, restart your computer. This can refresh network settings and often resolves connectivity problems.
3. Update Network Drivers
Outdated or corrupted network drivers can cause Ethernet issues. Go to Device Manager by searching it in the Start menu. Expand the “Network adapters” section, right-click on your Ethernet driver, and select “Update driver.” Choose the option to search automatically for updated driver software.
4. Run Network Troubleshooter
Windows 11 comes with a built-in troubleshooter that can help diagnose and fix network problems. To access it, go to Settings > System > Troubleshoot > Other troubleshooters. Find the “Internet Connections” troubleshooter and click “Run.” Follow the prompts, and let Windows do its magic.
5. Check Network Settings
Incorrect network settings can lead to Ethernet no signal errors. Go to Settings > Network & Internet > Ethernet. Check if the network is set to “Private” and that your IP settings are configured correctly. You can also reset these settings to default if you suspect they might be causing issues.
6. Disable IPv6
In some cases, disabling IPv6 can resolve connectivity problems. Right-click on your Ethernet connection in the Network and Sharing Center, select “Properties,” and uncheck the box next to Internet Protocol Version 6 (TCP/IPv6). Click OK and restart your computer to see if that helps.
7. Reset Network Stack
If all else fails, resetting the network stack can be a last resort. Open Command Prompt as an administrator and run the following commands one by one:
- netsh int ip reset
- netsh winsock reset
- ipconfig /release
- ipconfig /renew
After executing these commands, restart your computer. This will reset all network configurations back to default.
Why These Tips Work
Each of these tips address common causes of Ethernet no signal issues. From physical connections to software problems, they cover a wide range of potential faults. By systematically going through these steps, you can often identify and fix the problem without needing professional help.
Final Thoughts
Dealing with Windows 11 Ethernet no signal issues can be annoying, but these troubleshooting tips can help you resolve the problems quickly and efficiently. Whether it’s updating drivers or resetting network settings, you have several options at your disposal. Remember to check your cables and restart your devices first, as these simple steps can sometimes do the trick. Happy troubleshooting!
Why Is My Windows 11 Ethernet Not Working? Discover 5 Common Causes and Simple Fixes!

If you’re sitting in front of your computer, frustrated because your Windows 11 Ethernet isn’t working, you’re not alone. Many users in New York and beyond face similar issues. There are several reasons why you might be dealing with Ethernet no signal problems. Let’s take a look at five common causes and some simple fixes you can try to resolve Windows 11 Ethernet no signal issues effortlessly today!
1. Faulty Ethernet Cable
Sometimes, the simplest things cause the biggest problems. A damaged or faulty Ethernet cable can result in no signal. You should inspect your cable for nicks, frays, or any visible damage. If you have another Ethernet cable available, try swapping it out to see if that resolves your issue.
2. Network Adapter Issues
Your network adapter is crucial for connecting your computer to the internet. If it’s not functioning properly, you might see “no signal” messages. To check this, go to Device Manager by right-clicking on the Start button and selecting it. Look for the “Network adapters” section. If there’s a yellow triangle next to your Ethernet adapter, it indicates a problem. Updating the driver could help. Right-click on it, choose “Update driver,” and follow the prompts.
3. Incorrect Network Settings
Sometimes, the settings on your device could be misconfigured. Go to Settings, then Network & Internet, and check your Ethernet settings. Ensure that the “IP assignment” and “DNS server assignment” settings are set to automatic. If they’re not, change them and see if that helps restore your connection.
4. Router Issues
Your router can also cause Ethernet connectivity issues. Restarting your router is often a good first step. Unplug it, wait for about 30 seconds, and then plug it back in. Wait for it to reboot fully, and check if the Ethernet connection is restored. If this doesn’t work, try resetting your router to factory settings. Just remember, this might erase all your custom settings, so proceed with caution!
5. Windows Updates
Windows 11 updates can sometimes cause unexpected issues, including network problems. If your Ethernet was working before a recent update, it could be that new changes affected your connection. You can try rolling back the recent update. Go to Settings, click on “Windows Update,” and select “Update history.” If you see a recent update, click on “Uninstall updates” to revert.
Here’s a quick checklist of things you can do to troubleshoot your Ethernet connection:
- Check the Ethernet cable for damage.
- Update your network adapter driver in Device Manager.
- Verify network settings are correct.
- Restart or reset your router.
- Roll back any recent Windows updates.
In addition to these fixes, make sure your Windows 11 is up to date, as Microsoft frequently releases patches that can resolve connectivity issues. Also, ensure that your network is not down. Sometimes the problem lies with your Internet Service Provider (ISP).
In summary, dealing with Windows 11 Ethernet no signal issues can be frustrating, but often it’s just a matter of checking a few key areas. By following these troubleshooting steps, you can likely solve your Ethernet problems without too much hassle. Don’t let a simple issue keep you from staying connected!
Ultimate Guide: How to Resolve Windows 11 Ethernet No Signal Issues in 3 Easy Steps!

Are you tired of dealing with the frustrating “No Signal” message on your Ethernet when using Windows 11? You’re not alone! Many users experience this issue and it can be a hassle. But don’t worry, in this ultimate guide, we will show you how to resolve Windows 11 Ethernet no signal issues in 3 easy steps. You can resolve Windows 11 Ethernet no signal issues effortlessly today! Let’s dive into the solutions.
Check Physical Connections
First things first, always check your physical connections. Sounds simple, right? But you’d be surprised how many people overlook this step. Make sure that your Ethernet cable is securely plugged into both your computer and the router. If the cable appears damaged or worn out, consider replacing it. Sometimes, simply unplugging and re-plugging the cable can reset the connection, it’s worth a try.
- Ensure that the Ethernet port is clean and free from debris.
- If possible, try using a different Ethernet cable.
- Check if other devices can connect to the same network using the same cable.
Update Network Drivers
Another common cause of Ethernet no signal issues could be outdated or corrupt network drivers. Keeping your drivers updated is crucial for maintaining a strong connection. You can easily update your drivers in Windows 11 by following these steps:
- Press the Windows key and type “Device Manager.”
- Click on “Network Adapters” to expand the list.
- Right-click on your Ethernet adapter and select “Update driver.”
- Choose “Search automatically for updated driver software.”
If Windows doesn’t find a new driver, you might want to visit the manufacturer’s website. Sometimes, the latest drivers are available there before they are incorporated into Windows updates.
- Regularly check for Windows updates too, they can often include necessary driver updates.
- If you have rolled back a driver before, you may need to re-enable it.
Configure Network Settings
If the first two steps don’t solve your problem, it might be time to dig into your network settings. Misconfigured settings can block your connection. Here’s how to check:
- Go to “Settings” by pressing the Windows key + I.
- Click on “Network & Internet,” then select “Status.”
- Scroll down and click on “Network reset.”
- Follow the prompts to reset your network settings.
This step will reset all your network adapters and set all networking components back to their original settings, which can resolve a multitude of issues. However, be aware that you’ll need to reconnect to your Wi-Fi or re-enter any VPN settings afterwards.
- Make sure to note down any custom settings you might have before proceeding.
- It might also help to run the Network Troubleshooter found in the same “Status” section.
In summary, addressing Windows 11 Ethernet no signal issues is often about checking connections, updating drivers, and configuring settings. It’s a straightforward process that can save you a lot of headaches. If you follow these steps, you should be able to solve Windows 11 Ethernet no signal in no time. Don’t let connectivity issues hold you back from enjoying your digital life! Keep your system updated and stay connected!
Transform Your Internet Experience: 6 Must-Know Solutions for Windows 11 Ethernet Connectivity Problems!

Are you tired of your Windows 11 device constantly struggling with Ethernet connectivity? Many users find themselves stuck with frustrating “no signal” issues that can really ruin the internet experience. Luckily, there are several solutions that can help you transform your internet experience and resolve Windows 11 Ethernet no signal problems effortlessly. Here are six must-know solutions that can make a big difference!
1. Check Physical Connections
Before diving into software solutions, it’s important to make sure that everything is connected properly. Sometimes, it’s just a matter of loose cables. Ensure that your Ethernet cable is firmly plugged into your computer and the router. If it’s damaged, consider replacing it with a new one. An old, frayed cable could be the culprit of your connectivity woes.
2. Update Network Drivers
Outdated or corrupted network drivers can cause numerous issues, including no signal problems. You can update your network drivers manually or automatically. To do so manually, go to Device Manager, find your network adapter, and check for updates. If you’re unsure, using a third-party tool to help with driver updates can save you time and hassle.
3. Disable and Re-enable the Network Adapter
Sometimes, simply toggling your network adapter can resolve the issue. Here’s how you can do it:
- Open the Control Panel.
- Navigate to Network and Internet > Network Connections.
- Right-click on your Ethernet connection and select “Disable.”
- Wait for a few seconds, right-click again, and select “Enable.”
This method can reset the connection and might just do the trick.
4. Run the Network Troubleshooter
Windows 11 has a built-in network troubleshooter that can identify and fix common problems. To access it:
- Go to Settings > System > Troubleshoot > Other troubleshooters.
- Find “Network Adapter” and click the “Run” button.
This tool might find issues with your Ethernet connection and apply fixes automatically, saving you time and effort.
5. Adjust Network Settings
Sometimes, tweaking your network settings can make a big difference. You can try resetting the TCP/IP stack and flushing the DNS. Open Command Prompt as an administrator and run the following commands one at a time:
netsh int ip resetipconfig /flushdns
These commands can help restore your internet connection back to normal.
6. Reset Your Router
If all else fails, it could be time to reset your router. Unplug it, wait about 30 seconds, and then plug it back in. This can clear any glitches and restore connectivity. Just remember that resetting your router will erase any custom configurations, so you may need to set it up again.
Summary of Solutions
- Check Physical Connections: Ensure cables are secure and replace damaged ones.
- Update Network Drivers: Keep your drivers current for optimal performance.
- Disable and Re-enable Adapter: Simple toggle can fix issues.
- Run Network Troubleshooter: Use built-in tool for automated fixes.
- Adjust Network Settings: Reset TCP/IP stack and clear DNS.
- Reset Your Router: Power cycling can resolve persistent issues.
By following these six tips, you can easily solve Windows 11 Ethernet no signal issues and enjoy a more reliable internet experience. Don’t let connectivity problems hold you back from getting the most out of your online activities. With a bit of troubleshooting, your Windows 11 device can be back in action in no time!
Struggling with Windows 11 Ethernet No Signal? Uncover 8 Expert-Approved Methods to Restore Your Connection!

Are you struggling with Windows 11 Ethernet no signal issues? You’re not alone! Many users find themselves facing this frustrating problem. It can leave you feeling helpless, especially when you need a stable connection for work, gaming, or streaming. The good news is that there’s multiple expert-approved methods to help you resolve this pesky issue. Let’s dive in and explore eight effective solutions that could restore your Ethernet connection in no time!
Check Your Physical Connections
Before diving into complex troubleshooting, it’s smart to check your physical connections. Sometimes the simplest solutions are the most effective. Ensure that the Ethernet cable is properly plugged into both your computer and the router. Inspect the cable for any visible damage. If you have another cable, try swapping it out. A faulty cable can easily cause a no signal issue.
Update Network Adapter Drivers
Keeping your network adapter drivers up-to-date is crucial. Outdated or corrupt drivers can cause connectivity issues. To update your drivers, follow these steps:
- Press Windows + X and select Device Manager.
- Expand the “Network adapters” section.
- Right-click on your Ethernet adapter and select “Update driver.”
- Choose “Search automatically for updated driver software.”
This process may resolve your no signal problems.
Disable and Re-Enable the Ethernet Adapter
Sometimes, simply disabling and re-enabling the Ethernet adapter can fix the issue. You can do this through the Device Manager as well. Just right-click on your Ethernet adapter and select “Disable device.” Wait a few seconds, then right-click it again and select “Enable device.” This can refresh the connection.
Run the Network Troubleshooter
Windows 11 includes a built-in troubleshooter that can help you diagnose and fix network issues. To use it:
- Go to Settings > Network & Internet.
- Scroll down and click on “Network troubleshooter.”
- Follow the on-screen instructions to identify and fix problems.
This tool can pinpoint issues you might not notice!
Reset TCP/IP Stack
Resetting the TCP/IP stack can sometimes resolve network issues. Open Command Prompt as an administrator and type the following commands one by one:
- netsh int ip reset
- netsh winsock reset
After running these commands, restart your computer and see if the issue persists.
Check for Windows Updates
Sometimes, Microsoft releases updates that address known issues. Make sure your system is up to date by checking for Windows updates. Go to Settings > Update & Security > Windows Update, and click on “Check for updates.” Install any available updates and restart your computer.
Change Ethernet Adapter Settings
Adjusting the settings of your Ethernet adapter may also help. Go to Control Panel > Network and Sharing Center > Change adapter settings. Right-click on your Ethernet connection, select “Properties,” and uncheck “Internet Protocol Version 6 (TCP/IPv6).” Sometimes, IPv6 can cause conflicts.
Restart Your Router
Lastly, if none of the above methods work, try restarting your router. Unplug it from power, wait for about 30 seconds, and then plug it back in. This can resolve connectivity issues caused by the router’s settings or firmware glitches.
Struggling with Windows 11 Ethernet no signal issues can be incredibly frustrating, but don’t lose hope. With these eight expert-approved methods, you can resolve your connection problems effortlessly today. Making sure your connections are secure, keeping drivers updated, and using built-in troubleshooting tools can lead you to a stable and reliable Ethernet connection in no time! If problems persist, it may be time to consult a professional or consider hardware replacements.
Conclusion
In conclusion, resolving the Ethernet no signal issue in Windows 11 requires a systematic approach to troubleshoot and eliminate potential causes. We explored various solutions, including checking physical connections, updating network drivers, and ensuring that network settings are correctly configured. Additionally, resetting the network stack and running the built-in Windows Troubleshooter can often pinpoint and fix underlying problems. It’s crucial to remain patient and methodical while going through these steps, as the solution may vary depending on your specific setup. If all else fails, considering hardware issues or seeking professional assistance may be the next best step. By following the outlined strategies, you can restore your Ethernet connection and enjoy uninterrupted internet access. Don’t hesitate to implement these solutions and take control of your network experience today!