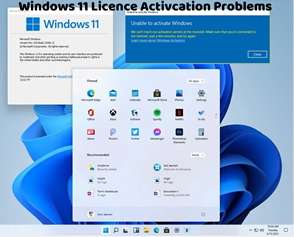
Activating Windows 11 via Command Prompt provides a straightforward method for users who prefer a command-line interface. In this article, we’ll outline the steps to activate Windows 11 using Command Prompt.
Open Command Prompt as Administrator:
Right-click on the Start menu and select “Command Prompt (Admin)” from the context menu.
If prompted by User Account Control, click “Yes” to grant administrative privileges to Command Prompt.
Navigate to System32 Directory:
Once Command Prompt is open, navigate to the System32 directory by typing the following command and pressing Enter:
bash
Copy code
cd C:\Windows\System32
Install Product Key:
Use the slmgr.vbs script to install the product key. Enter the following command and replace <your_product_key> with your valid Windows 11 product key:
bash
Copy code
cscript slmgr.vbs /ipk <your_product_key>
Press Enter to execute the command. You should receive a confirmation message indicating that the product key was installed successfully.
Activate Windows:
After installing the product key, proceed to activate Windows 11 by entering the following command:
bash
Copy code
cscript slmgr.vbs /ato
Press Enter to execute the command. Windows will attempt to activate using the installed product key.
Verification:
Once the activation process is complete, verify that Windows 11 is activated by going to Settings > Update & Security > Activation. You should see a message indicating that Windows is activated with a digital license.
By following these steps, you can activate Windows 11 using Command Prompt efficiently. This method is particularly useful for users who prefer command-line interfaces or need to activate Windows without using the graphical user interface. If you encounter any issues during the activation process, double-check the product key and ensure that you have administrative privileges in Command Prompt. If problems persist, consider reaching out to Microsoft Support for further assistance.

